Showing posts with label polymer clay canes. Show all posts

Friday, September 16, 2011

Committed....One a Day...

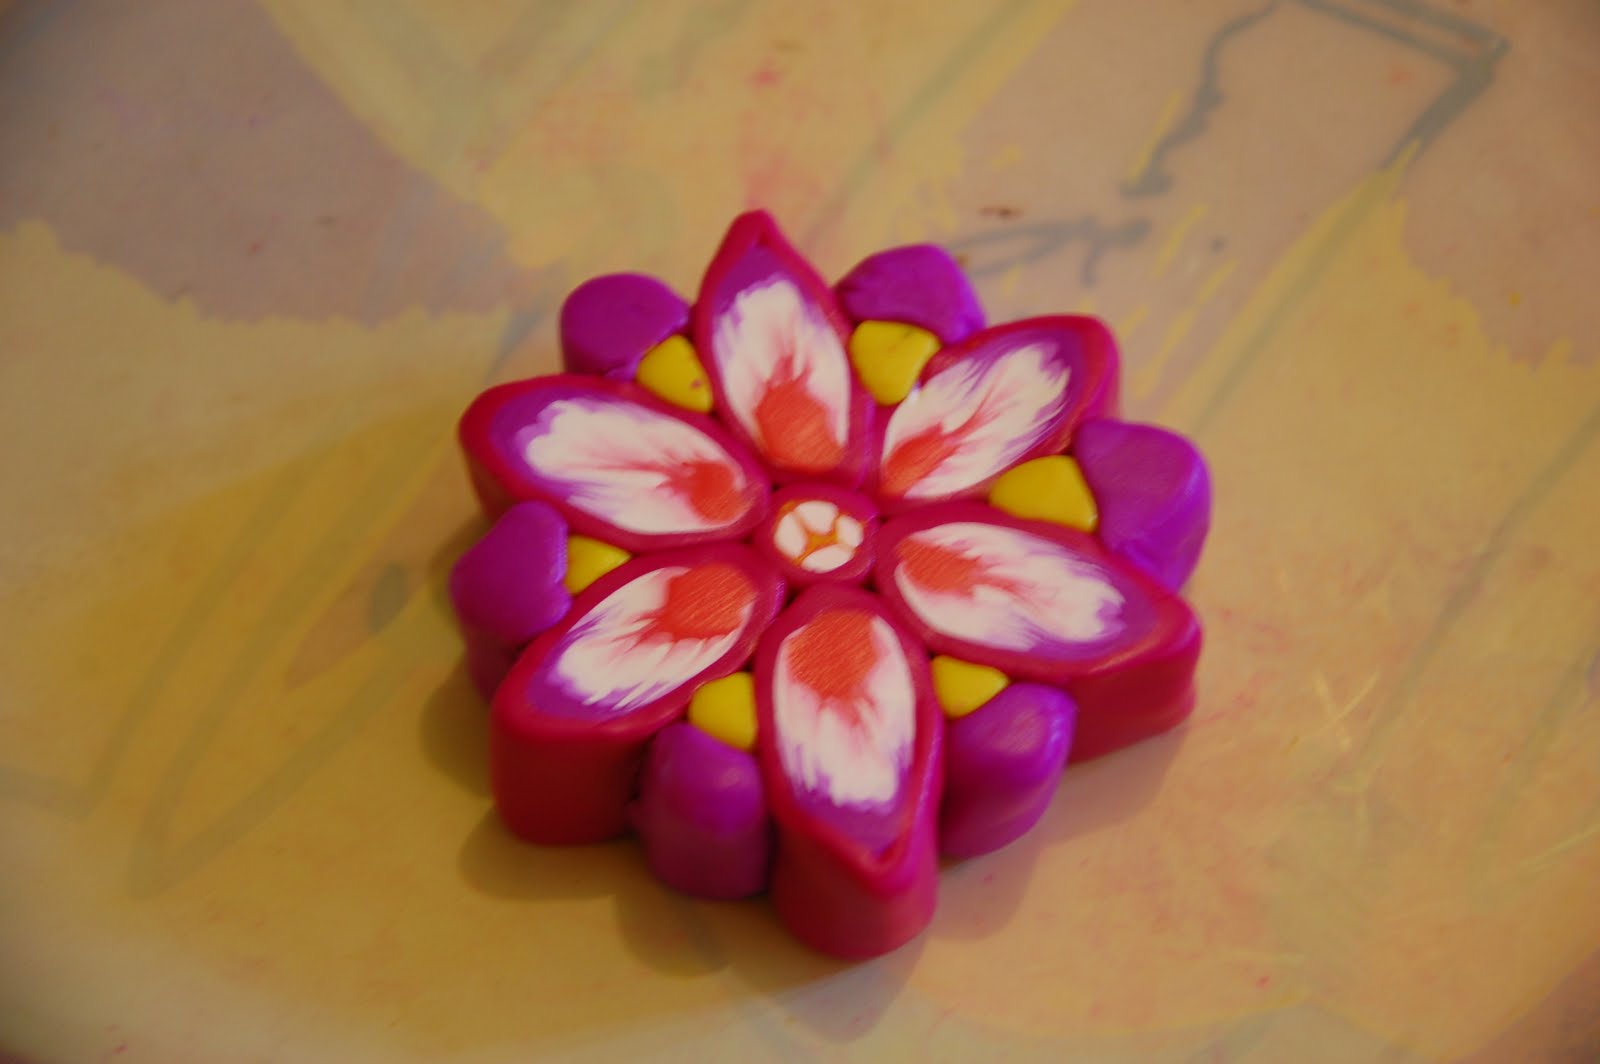
I promised myself to make at least one piece a day in order to stock up for upcoming bazaars..here's what I have for today...
There's something really relaxing about making these styles of pendants. Although, you have to have a really steady hand to roll out and place all the little petals without squishing ones that are already placed, some how, the concentration needed to focus on the little piece soothes me. All others thoughts that cloud up my mind suddenly melts away and what's left is my creation in front of me....

And finally, when it's all done...I have this...

Delicate and sweet...each little petal laid down carefully in each position to create a little work of art...
Done for my quota for today...

That's all for now...Have a great day!


Tuesday, August 2, 2011

Flower Cane...Step by step Pictures

Rainy, cold weather seems to make me very creative...I started out watching this youtube video (click here) and wanted to give it a try. 


Although it didn't come out like the cane in the video, I still loved how it came out...Here are a series of pictures that takes you through a step by step on how to make the cane...

I took 3 colors...white, pink, and violet and from those made to sheets using the skinner blend technique...

Fold up sheets like below making widths of both sheets similar...

Run each sheet through your pasta machine (i ran it through the thickest setting)..

Roll up the long strips starting with the white end...

You end up with these 2 fat logs. I sort of squeeze them together so that the ends are smooth like the log on the right side...

Cut the logs in half and further into 8 pieces each...


Separate pieces...

 and insert alternating pieces as follows...

slowly start to squeeze the block of clay...

Squeeze  the bottom part more to start to form a petal shape...

I cut the cane in half to see what it looks like...starting to look nice...

I shape it more like a petal by smooshing the ends together... I like to keep half of the cane the way it is (large) to use as petals for bigger flowers... the other half is reduced further...

I reduced the cane further and covered it with a fuscia colored sheet... cut it into 6 pieces and start to assemble into a flower...

Make a round cane for the center...

Start to fill in the space between the petals...yellow...

violet...

pink...

Reduce by squeezing..I squeezed from the center but it looks like its distorting...
oh no..is it a failure...

I cut it in half and see a pretty flower....success! I take half and put that away...

The other half I reduce further and cover around with another sheet of fuscia...

Ta-da...the whole lot...Even the scrap clay look nice....

 Hope you enjoyed the step by step. Hope you can make your own from the pictures...

That's all for now..have a great day!


Thursday, July 28, 2011

Successful canes...Failed baking...

These past few days, I've been playing around with my clay...and I decided to make my own canes. I watched some free tutorials on youtube and played with one of the tutorials there, changing a bit here and there...i forgot to take initial pictures because i was too excited...


and another...


I love the idea that this big canes can be reduced into smaller logs and the design stays the same...they look so intricate and amazing when they're tiny...

Seems like a good clay day, right....

Unfortunately, when you're still learning, the good sometimes comes with the bad...

I also decided to try using one of my mokume gane blocks. I took a small clear glass i had tucked away in the cupboards and covered it with thin slices of my mokume gane block. Here it was all covered...nice and pretty... I tried putting a candle inside just to get an idea of what it would look like...

Oooh, I am liking that...

So, this morning I fired up the oven, popped in the glass (covered around with cardboard) and waited, carefully checking back every so often as not to to burn it (I was worried since the clay was quite thin)...

At the end of cooking time I took out the glass...not knowing i would find this...

Awww...my beautiful mokume gane..... 

Oh well, its a lesson learned...I forgot to  put the glass ON TOP of cardboard or something that would prevent the burn. I enclosed it around the sides and didn't even think of the ends of the glass. I'll have to read up more about covering glass items because I'm really planning to come out with a bunch of these glass covered items. I think they're quite lovely!

I wonder if i can still do something to salvage this beauty...

That's all for now..have a great day!


until I came up with a big log tbat seemed a bit distorted in the ends